


Introduction
Brass is elegant, timeless, and exudes a charm that can transform any piece or space. Whether it’s a family heirloom, a decorative centerpiece, or that vintage lamp in the corner of your room, brass brings warmth and character. But over time, brass loses its shine, succumbing to tarnish and dirt. That’s where brass cleaner comes to the rescue! A comprehensive guide to brass cleaner, featuring tips, DIY methods, benefits, and FAQs to keep your brass shining brilliantly.
This guide will walk you through everything you need to know about brass cleaning—from choosing the right cleaner to DIY methods and essential tips. We’ll also cover why brass cleaners are a must-have in any household. By the end of this read, you’ll be fully armed to restore your brass treasures to their original glory.
Why Use a Brass Cleaner?
Brass naturally tarnishes when exposed to air and moisture. This is due to oxidation, where a dull layer forms on the surface, disguising its beautiful sheen. A brass cleaner is specially formulated to remove tarnish, dirt, and grime without damaging the metal. Here are some perks of using a brass cleaner:
- Restores Shine – Brings back the original golden glow.
- Adds Longevity – Prevents corrosion and prolongs the life of your brass items.
- Convenience – Easy and quick solutions compared to scrubbing endlessly.
- Safe Cleaning – Gentle on brass but effective on tough stains.
Whether it’s your brass candlesticks, doorknobs, instruments, or jewelry, a little TLC goes a long way.
Types of Brass Cleaners
When it comes to cleaning brass, you have two options: store-bought brass cleaners and homemade alternatives. Both have their benefits, but it all depends on your preference.
1. Store-Bought Brass Cleaners
These are readily available and designed specifically for brass. Here are some common ones:
- Liquid Cleaners: Bottled cleaners ideal for large pieces like brass trays or lamps.
- Creams and Pastes: Easy to apply and rub off for intricate designs and grooves.
- Polish Wipes: Simple and portable for quick touch-ups on items like brass handles.
When shopping, look for products labeled as “non-abrasive” to ensure your brass surfaces don’t get scratched. Popular names include Brasso and Wright’s Brass Polish.
2. DIY Homemade Brass Cleaners
Don’t want to rush to the store? No problem! Household items do the trick just as well. Here are some tried-and-true DIY options:
- Vinegar and Baking Soda
Create a paste with equal parts vinegar and baking soda, apply to the brass, and gently rub using a soft cloth. Rinse well and dry. - Lemon and Salt
Sprinkle salt on half a lemon, rub it over the brass surface, and watch the tarnish melt away. Rinse and dry for best results. - Ketchup
Yup, you read that right. Ketchup’s acidity works wonders on tarnished brass. Spread a thin layer, wait for 5 minutes, and wipe clean. - Soap and Warm Water
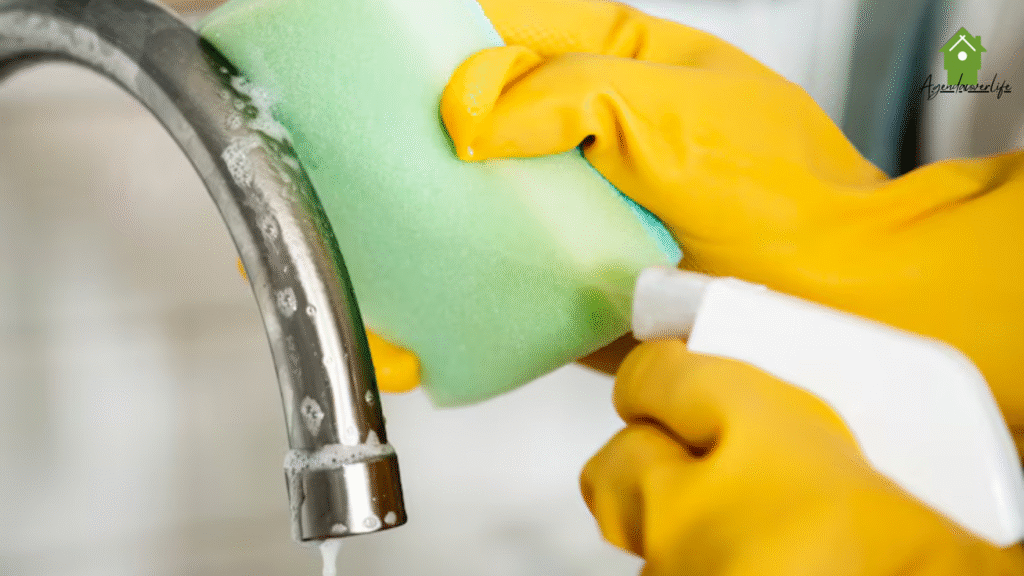
For mildly tarnished brass, sometimes a bit of soap and water accompanied by gentle scrubbing is all you need.
How to Use Brass Cleaner (Step-by-Step)
Cleaning brass isn’t complicated, but there’s a right way to do it. Follow these steps for the best results:
- Determine if It’s Solid Brass or Brass-Plated
First, check if your item is solid brass or just brass-plated. Place a magnet on the object. If it sticks, it’s brass-plated, and you’ll need to clean it gently to avoid wearing off the plating. - Gather Your Materials
You’ll generally need a brass cleaner (store-bought or DIY), a soft cloth, warm water, and microfiber towels for drying. - Do a Patch Test
Test the cleaner on a small, inconspicuous area to ensure it’s safe and doesn’t damage the finish. - Apply the Cleaner
Apply your chosen cleaner to the brass item. If it’s liquid or cream, use a soft cloth or sponge. Work in small circular motions. - Tackle Detailed Designs
For intricate designs or grooved brass items, use a soft toothbrush to reach tighter spaces without scratching. - Rinse Thoroughly
Use warm water to rinse away the cleaner and tarnish. Avoid soaking brass-plated items for too long. - Dry and Polish
Pat completely dry with a soft towel. Buff to a shine using a lint-free cloth for that polished, gleaming finish.
Tips for Maintaining Brass
Regular maintenance can keep your brass sparkling for longer and reduce the frequency of deep cleaning. Here are some tips:
- Wipe brass items with a soft, dry cloth weekly to remove dust.
- Use a protective copper/brass lacquer for items frequently exposed to the elements.
- Avoid cleaning brass with abrasive materials like steel wool.
- Store brass items in dry, low-humidity areas to prevent oxidation.
- Keep acidic foods like vinegar, lemon juice, or wine away from exposed brass surfaces.
Frequently Asked Questions
Q1. How often should I clean brass items?
It depends on how often they’re used or exposed to tarnish-causing elements. Monthly cleaning should suffice for most items, while decorative or unused pieces may need it less frequently.
Q2. What if I don’t have a brass cleaner at home?
No worries! Use common household items like vinegar, lemon, or even ketchup as detailed above. They work like magic!
Q3. Can brass be over-cleaned?
Yes, excessive cleaning over time can wear down the surface, especially for brass-plated items. Only clean when necessary.
Q4. Are brass cleaners safe for all brass items?
Most are safe for solid brass, but always check labels and do patch tests to avoid damage to delicate or antique pieces.
Q5. Should I wash brass in a dishwasher?
Absolutely not! Dishwashers can cause discoloration and may lead to scratches. Always clean brass by hand.
The Bottom Line
Brass items have a unique allure that transforms ordinary spaces and objects into extraordinary ones. With the right brass cleaner and a little care, you can keep these timeless beauties shining for years to come. From commercial cleaners to DIY hacks, the methods are simple, effective, and rewarding.
Next time your brass starts looking dull, you’ll know exactly what to do. Get out your cleaner, follow these tips, and bring the shine back to your precious brass treasures. Happy cleaning!